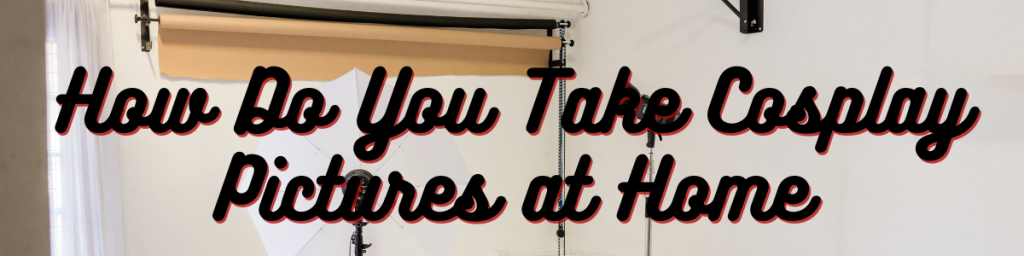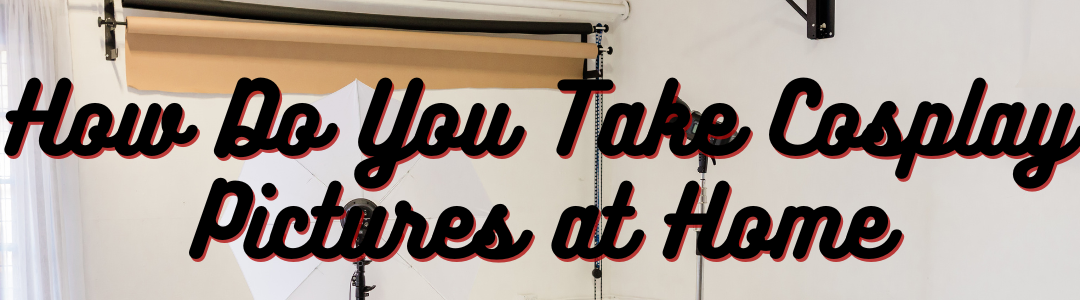
Going out on site for cosplay photoshoots is always so much fun. Whether you self shoot or bring a photographer, the photos are sure to turn out looking realistic and great. However, sometimes it isn’t always the easiest to find a safe location and for some people it can be intimidating to go out in public in costume. That probably has made you stop and ask, how do you take cosplay pictures at home. Things like bad weather, a lack of sites or nerves happen and your home is a perfectly acceptable venue for a cosplay photoshoot no matter what your reason is. So, let’s dive into some of these key tips for taking your pictures from home.
How to Take Cosplay Photos
Pick a Wall or Space
The first thing you’ll want to do is figure out where in your home you want to do this photoshoot. If you live with other people, try to be considerate to their needs when selecting a room. Find a room with a good blank wall to be in the background and ensure the lighting is optimal for quality photo results. Be sure the room or wall you pick doesn’t have too many distinct landmarks like windows that could give hints to followers of your house’s location as well.
Create Back Drops or Scenes
If you’d like to have fancy back drops over a plain wall, you can always purchase a support set up. Or they can be easily made with PVC pipe from the hardware store and plain sheets or other large pieces of fabric. Plan out how you want your photos to look in advance so you can shop or build whatever you need to fulfill them. You could also explore green screens so you can customize the background in post production.
You don’t need a full studio setup to create an immersive scene at home. Rearrange furniture, hang a backdrop, add a few props, or use colored LED lights to give your photos a thematic mood. Even small details—like setting a prop weapon against a wall or adding smoke from a diffuser—can elevate your images and make them feel more dynamic. Building a scene helps bridge the gap between everyday living spaces and the character’s world.
Camera Equipment
You don’t need to have an expensive camera or lighting to take quality photos. Figure out what lights you need to achieve quality photo results. Assess if the room requires more cool or warm lighting tons or if you want colored lights to create a cool effect. For your camera, make sure you have a tripod to set it up on if you’re self shooting. You can use a camera or even a phone camera. However, the front camera on phones like iPhones may not be the right choice due to the reduced quality.
Decide a Photographer
You could still hire a photographer if you’d like when shooting at home. Whether it’s a friend or a professional is up to you. However, if you’re looking to do it yourself you’ll need a few things. First is a clicker so you can simply press a button and take your photos while you’re away from the camera. These are easy to find and usually really affordable on places like Amazon which have countless Bluetooth capable options. The other thing is a mirror. It’ll be hard to see what your photo is capturing then you’re in front of it. Placing a mirror or clipping one onto your tripod so you can see if you’re lined up in the shot is super important. Otherwise you could waste time on photos where you’re not centered or are only half in the shot.
Try Different Angles
Don’t rely on straight-on, eye-level shots for every photo—cosplay looks dramatically different depending on where the camera is placed. Try shooting from low angles to make armor or weapons look powerful, or from a slight high angle for softer, more playful characters. Rotating your body or tilting the camera can also help show off details that might get lost in a frontal pose. Experiment with several angles during each setup so you have options that highlight your work in the most flattering way.
Match the Scene and Character
Even at home, you can tailor your posing and setup to reflect the character’s personality or world. Think about what kind of environment they belong in—soft lighting for magical girls, dramatic shadows for villains, cluttered workshop vibes for engineers and tinkerers. Use small props, backdrops, or even rearranged furniture to evoke the character’s universe so the final photo feels intentional and immersive.
Lighting
Good lighting can make a simple home shoot look professional. Natural light is always flattering, especially indirect light from a large window, but you can supplement with ring lights, softboxes, or even lamps with sheer curtains over them to soften harsh shadows. Consistent lighting helps colors appear accurate and brings out the craftsmanship in your costume. Avoid harsh overhead lights when possible—they create strong shadows and make facial features look uneven.
Signature Poses
Every character has iconic poses or mannerisms that help bring them to life. Before your shoot, browse reference images, trailers, or official art to collect a few signature poses you can replicate. Even if you don’t match them exactly, using recognizable posture and attitude helps the viewer immediately connect you with the character. Practice these poses in a mirror so you feel comfortable hitting them on camera.
Get Lots of Photos
The biggest mistake cosplayers make is taking too few pictures. Small adjustments in pose, angle, and expression can make a huge difference, so take multiple shots of each setup. Use burst mode, remote shutter, or interval shooting to capture more variety without running back and forth between the camera and your spot. More photos mean more chances to find that perfect combination of lighting, expression, and silhouette.
Plan Your Shoot
A little planning saves time and frustration. Make a quick shot list of poses, props, and angles you want to try, and have your makeup, wig, tools, and repair supplies nearby. Set up your backdrop and lighting before putting on your cosplay so everything is ready to go. Planning not only keeps you organized—it also helps you stay focused on showcasing the parts of your costume you’re most proud of.
Edit Your Photos
Editing doesn’t mean transforming your entire appearance—it’s about enhancing what’s already there. Adjusting brightness, contrast, and color balance can help your cosplay look more like it does in person. Light retouching can smooth out lighting inconsistencies, remove background distractions, or sharpen details in your costume. Apps like Lightroom, Snapseed, or even mobile editing tools offer quick fixes that can make your home photos look polished and professional before posting them.
How Do You Take Cosplay Pictures at Home on iPhone
You can take high-quality cosplay photos at home using just an iPhone by making the most of its built-in features. Start by switching to Portrait Mode to get soft background blur and crisp detail on your costume. Tap to focus on your face or the most important part of the cosplay, and slide your finger up or down to adjust exposure so the lighting looks clean and even. Use a tripod with a Bluetooth remote or the phone’s timer to keep shots steady and give yourself freedom to pose. For better lighting, place your iPhone near a window or use the built-in flashlight from another phone bounced off a wall for softer illumination. Avoid zooming—step closer instead to keep the image sharp. After shooting, take advantage of the iPhone’s editing tools to adjust brightness, warmth, and color balance, or use apps like Lightroom Mobile for more control. With a little setup and experimentation, an iPhone can produce cosplay photos that look surprisingly polished and professional.
AFFILIATE DISCLOSURE: there may be a few links in this post that are affiliate links. Clicking these links or making purchases through these links can help support myself and this blog.