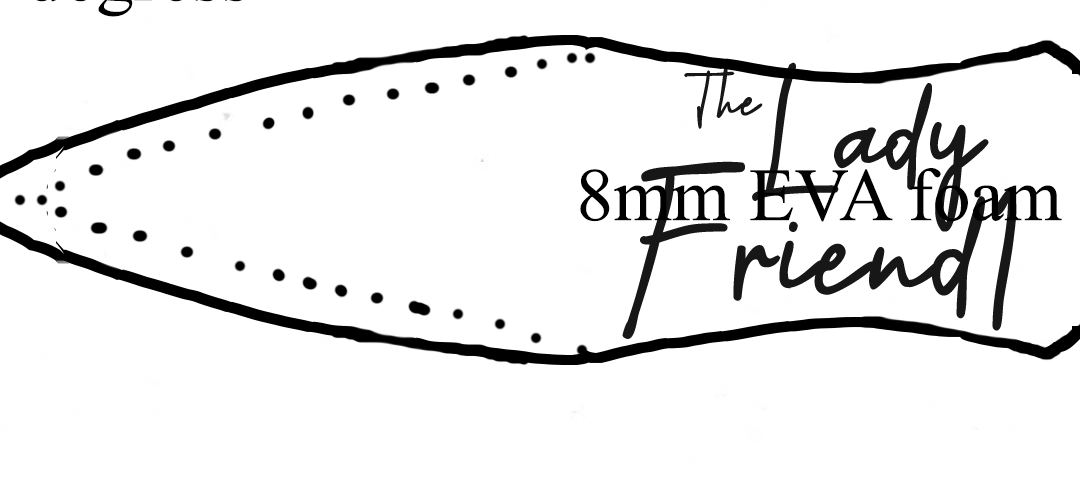
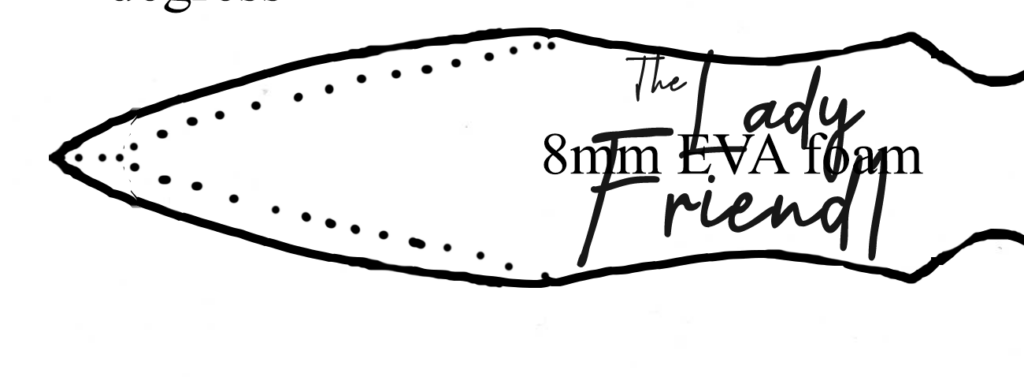
You may have recently purchased a cosplay template from my store. If you have, you may be wondering how to print cosplay templates. Well in this guide, I will walk you through the steps to print out those patterns. Thankfully, it is relatively easy to do.
What Supplies You Need
- Scissors
- Paper
- Printer and ink
- Computer
- Digital pattern
How to Print Cosplay Patterns
- Step 1: Open the file – You will start by opening the digital file on your computer.
- Step 2: Go to file > print – In the file, select FILE and then PRINT.
- Step 3. Print settings – The print settings you need to remember is the page size. The file size is a standard document size (8×11) with no margins. If it has multiple pages, DO NOT print double sided.
- Step 4: Proceed to print – You can proceed to press print.
How to Assemble Cosplay Patterns
After you have printed the cosplay pattern you can cut it out. Some pieces you may need to tape together since they were printed on multiple pages. Match pieces by how they are numbered or lettered and then proceed to tape them together.
Scaling Cosplay Patterns
To ensure the prop or costume is fitting to your size, you need to scale it up or down. After you enter print settings window, you can make your adjustments by choosing size > custom scale and then enter a percentage to make the pattern larger or smaller.
Why Won’t My Cosplay Pattern Print
If you are having issues printing a pattern, try these quick fixes:
- Wrong printer selected – Be sure to choose your printer from the drop down before you hit print.
- Printer is out of paper – Add more paper to the tray.
- Printer has a jam – Clear the jam.
- Printer is out of ink – Replace the ink cartridges.
- Pattern is too small or large – Follow our Scaling Cosplay Patterns instructions to get it to fit your body type.
AFFILIATE DISCLOSURE: there may be a few links in this post that are affiliate links. Clicking these links or making purchases through these links can help support myself and this blog.


