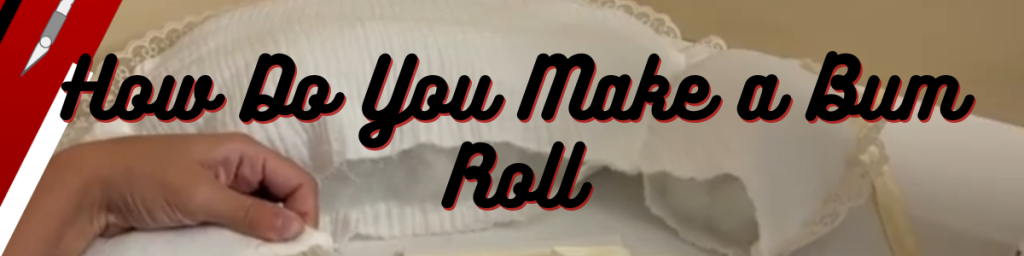
If you’re asking “how do you make a bum roll” so you can have the proper undergarments for your cosplay or Renaissance faire costume, this guide can help. I’ll go over everything you need to know about how to make an 18th Century bum pad.
Supplies
- Fabric
- Polyfil
- Thread
- Sewing machine and needles
- Trim
- Bias tape
- Stretch ribbon
- Sewing pattern
- Scissors
How to Sew a Bum Roll
- Step 1. Cut out the fabric – Line up your pattern on the fabric of your choice. I opted for a cotton, bubble gauze fabric. Then trace the pattern with tailors chalk. Once the pattern pieces or traced, you can cut them out.
- Step 2. Sew together the two pieces – Take the two pieces of fabric you cut out for the bum pad and pin them together along the outer edge. You can then sew the pieces together. To finish the edges you can use a serger or opt for French seams like I did.
- Step 3. Create the sections – Following the pattern instructions, sew the pad to create 3 sections. This step could also be done after step 4.
- Step 4. Sew on the trim – I chose a lace trim to match the fabric I was using. I hand sewed the trim along the outer edge of the bum roll.
- Step 5. Fill the pad – Once your roll is mostly assembled, we need to fill it with polyfil. Be careful not to over fill it or it’ll appear unrealistic with garments.
- Step 6. Close and finish the pad – We now need to finish the bum roll by closing off the opening and adding ties. I used a bias tape to close everything and create a decorative finish. At each end I also added a stretch ribbon that matched the bias tape that I could use as ties to secure the bum roll.
AFFILIATE DISCLOSURE: there may be a few links in this post that are affiliate links. Clicking these links or making purchases through these links can help support myself and this blog.